
10 Essential Tips for Plein Air Painting
The Joys and Challenges of Painting Outdoors
Plein air painting can be one of the best teachers for artists wanting to improve their skills and have some adventures at the same time! When painting outdoors, you encounter many elements that are continuously changing: the sun comes in and out, the clouds move fast, the wind picks up, and sometimes bugs make not-so-welcome appearance. This constant change forces you to be more intentional about your process since you don’t have time to deliberate forever on what the next move should be.
One of the significant advantages of plein air painting is the access to colors a photograph can never capture. Cameras often overexpose and simplify areas, turning shadows into just dark patches. However, when you observe nature directly, you may see gorgeous purples, blues, and browns in those shadows the photo never showed you. I often use my plein air sketches as the starting point for larger studio paintings, taking color notes from these studies and using photographs only to observe shapes for composition.
With summer here at our doorstep, I thought I’d share some helpful tips.
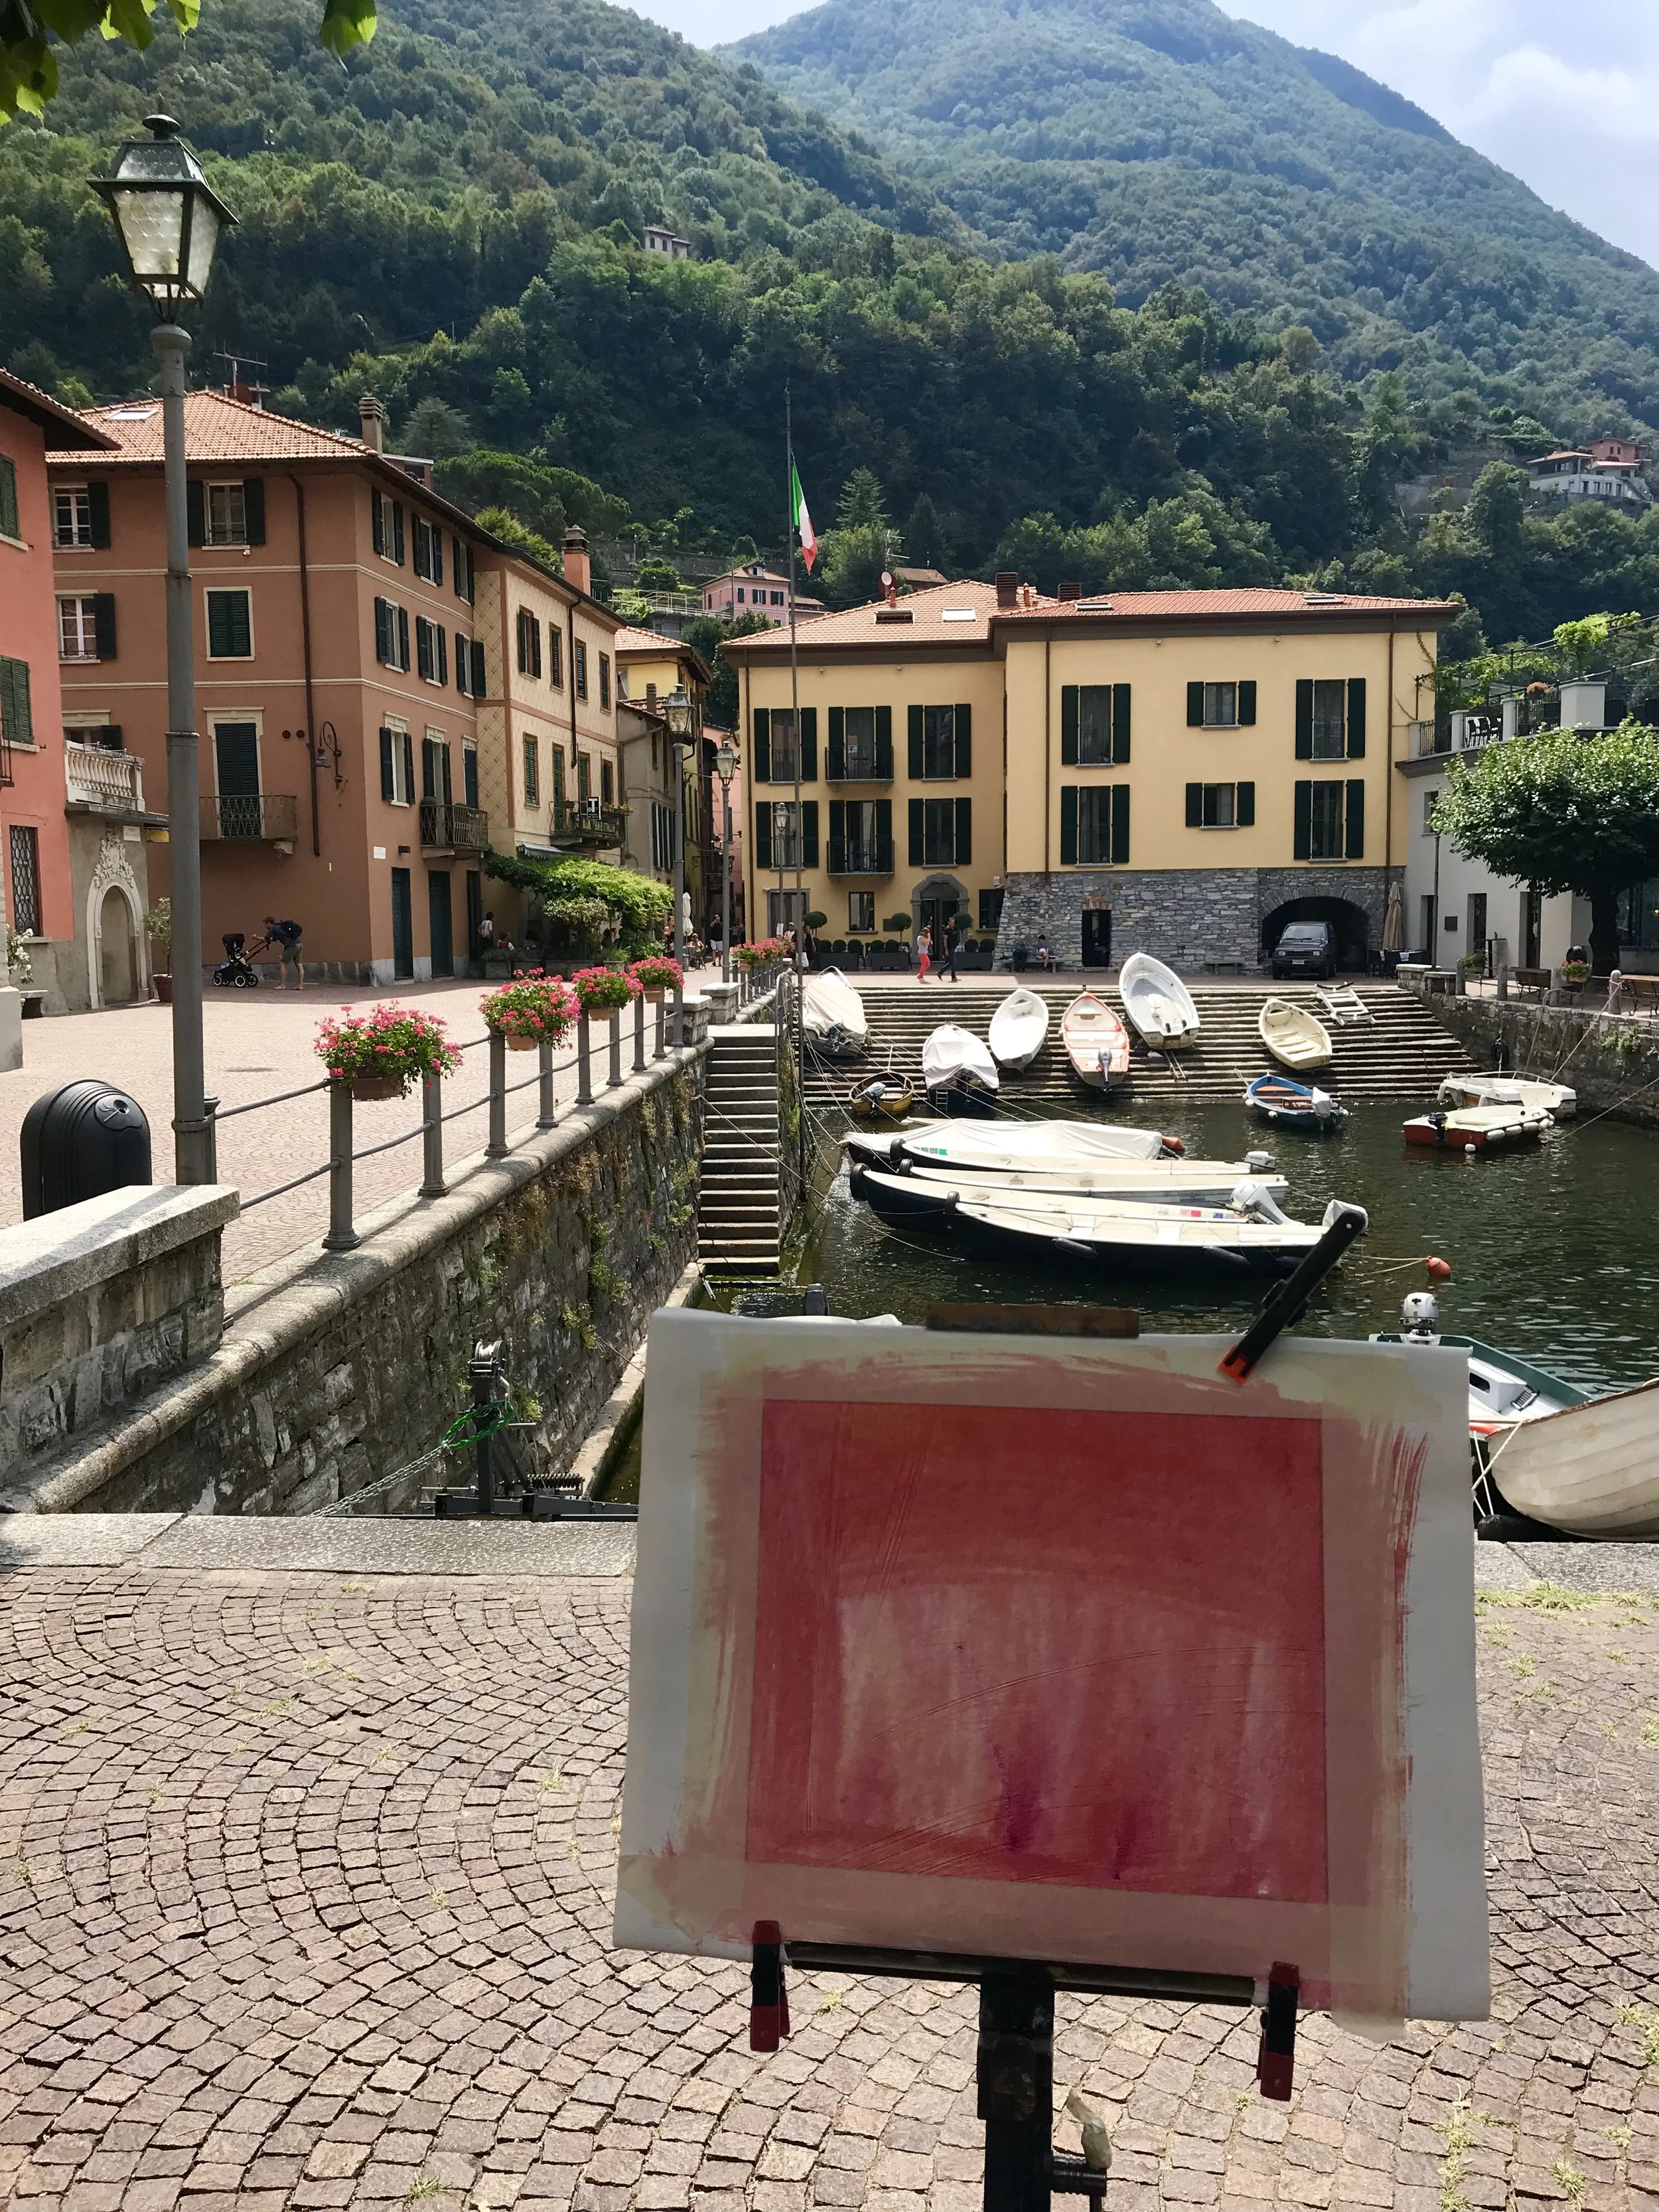
Starting a painting in Lake Como, Italy in 2023.
10 Essential Tips for Plein Air Painting
1. Find Your Painting Quickly
When you arrive at a painting location, it’s tempting to search for the perfect spot endlessly. Trust your gut and start with the first scene that catches your attention. Very often, I will notice something right away when I arrive at the selected spot. I have come to understand that every single time I have second-guessed myself and tried to find a better spot, I end up wasting precious time, walking around only to go back to that first thing that had caught my breath.
2. Focus on a Section
You can’t include everything in one painting. Narrow down to one section of the scene. A viewfinder can help you focus on what fits into your canvas or paper. If you have time and there are more than one point of interest, just do another painting!
3. Define the Painting’s Story
Your painting should tell one story. There can be supporting elements, but a single focus makes for a stronger painting. Is it the patterns on the water? The scale of the mountains? That hit of light in the sky? The arch of a tree leaning over the lake? If the painting is all about that massive sky, there’s no point in adding a whole bunch of detail on the rocks in the foreground as we want the viewer to look at the sky, not get caught in the rocks. Give that story a name and keep that concept at the forefront.
4. Stick to That Story
Once you’ve decided on the story, stick to it! The light and the whole scene will change, but you need to learn to develop visual memory to remember your initial inspiration. It may be confusing to change the story halfway through the painting. If the scene changes too much, consider starting a new study.
5. Choose the Right Format and Composition
After deciding on the main concept, use your sketchbook to create several thumbnails to plan out your painting. Try different compositions and formats until you find the best ones to tell your story. Use a big marker to sketch the big shapes only and avoid adding detail at this point. This shouldn’t be a detailed drawing—five minutes should be enough to make those decisions.
6. Consider the Sun’s Movement
Predict how shapes may change with the sun’s movement. Your subject may disappear as the light moves or be so different from your starting point that it can pose a real challenge. Think of where you will set up to be in the same light yourself and the easel. On the one hand, painting in the sun for extended periods of time can be hard for some, (it is for me), and the brightness on the canvas or palette can be blinding. On the other hand, painting in the shade can help maintain consistent light conditions on your palette and canvas, making it easier to distinguish colors. An app like Suntracker can be helpful if you’re unfamiliar with the location.
7. Prepare for Changing Conditions
The light WILL change, which may not be a bad thing. It will teach you to be more decisive and intentional with the marks you put down. Be ready for any weather too. Bring layers of clothing and have a hat handy.
8. Set a Time Limit
After 1.5 to 2 hours, lighting conditions will have changed significantly. If you haven’t finished, it might be better to return the following day at the same time rather than continuing with different light.
9. Be Kind to Yourself
The first few times will be difficult. Who am I kidding? Many times will be challenging later on too! Stick with it though; this is an exercise. Do it for the process, not just the finished product. Every time you go out and paint outdoors, you will train your eye to see and slowly learn how you like to work. Trust me, you’ll make lots of good memories and a few good paintings!
10. Find a Group or Start One
Painting with others is way more fun. Plein air painting has become very popular, and there may be a local group you can join. If there isn’t, start one. Simply, set a regular meeting day and time and take turns picking the location so that everyone gets to paint their favourite spots. It’s also a good way to see other artists’ setups and gear.
Why Plein Air Painting Is Worth It
Plein air painting is a rewarding and educational experience. It can improve your skills fast and allows you to connect with nature in a different way. It may become a key way for you to find your own artistic voice.
So grab your easel, head outdoors and start painting. I hope to run into you out there!